


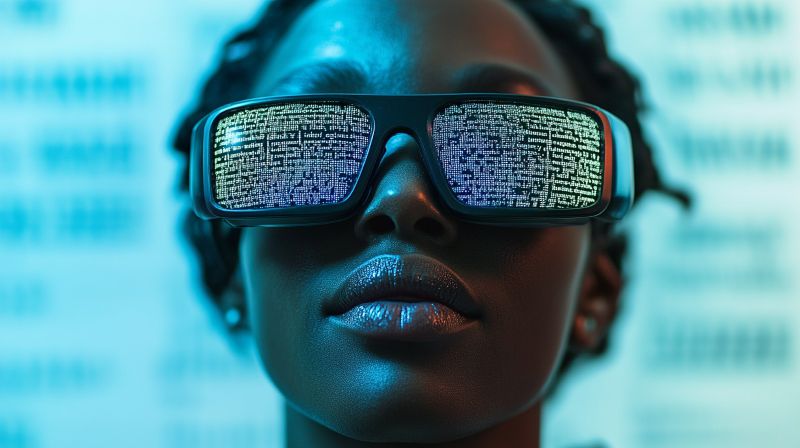
How to make ‘glasses’ that transcribe text to audio for the blind
How to make ‘glasses’ that transcribe text to audio for the blind
Headgear that could help people with visual impairment perceive text by reading it out aloud in real-time isn’t a novel concept but making it by yourself at home for your loved ones might be – and an eighth-grade student has succeeded in doing just that.
Ad
Indeed, Akhil Nagori, who is a member of the 49ers STEM Leadership Institute, has created ‘glasses’ that aren’t intended for traditional seeing but are outfitted with hardware to capture text and read it aloud, sharing the entire process online in both text and video on YouTube, helping others accomplish the same.
Specifically, the setup is pretty simple for anyone with just a tad of technological inclination and includes a Raspberry Pi Zero 2W that runs off a 3.7-volt lithium-ion battery (ideally with more than 1.2 amps) and is outfitted with a classic first-party camera, like the Mini Raspberry Pi Camera Module.
The camera is mounted on a set of eyeglass frames so that it points at whatever the person wearing it might be ‘looking’ at. All it takes is a push of a button, and the camera will capture the image, passing it on to an API that does the optical character recognition, and further onto a speech synthesizer so it can be read aloud to the wearer.
Ad
Other necessary tools include jumper wires (male-to-male), two mini speakers, PLA basic filament (like Bambu Lab’s), MT3608 step-up power boost converter, soldering iron, PCB circuit board, 3D printer, and Raspbian CLI software, with the total cost of such a setup estimated at below $69.

Step 1: Text to audio glasses software
Nagori explained how he deployed the process, which included using a fast API that runs a subprocess that allows it to call the camera capture from inside the code which needs to be uploaded to the Raspberry Pi.
Update your system
To begin, you’ll need to enable SSH on the Raspberry Pi, “so you can use the terminal directly through your other computer.” Furthermore, before installing dependencies, you’ll need to update your Raspberry Pi.
| bash
sudo apt update && sudo apt upgrade -y |
Enable the camera
To enable the camera if using Raspberry Pi OS, open Raspberry Pi configuration:
| bash
sudo raspi-config |
Go to Interfacing Options → Camera → Enable.
Reboot your Raspberry Pi:
| bash
sudo reboot |
Install required software
Then, install the required software, including Python dependencies:
| bash
pip install RPi.GPIO requests espeakng opencv-python |
Test if RPi.GPIO is installed:
| bash
python3 -c “import RPi.GPIO; print(‘RPi.GPIO is installed!’)” |
Write the Python code
Now it’s time to write the Python code, first creating a new Python script:
| bash
nano button_ocr.py |
Paste the following complete script:
| import RPi.GPIO as GPIO import requests import espeakng import cv2 import subprocess import time # Define GPIO pin for the button # Set up GPIO def capture_and_process(): # OCR function if response.status_code == 200: # Run OCR if text: # Main loop to wait for button press try: |
Save the file (CTRL + X, then Y, then ENTER).
Running the program
Run the script:
| python3 button_ocr.py The program will wait for a button press. Press the button → It captures an image. The OCR extracts text. The text is spoken using espeakng. |
After taking these steps, you’ll be ready to run the code. Upload the main.py file and tts.py file to the Raspberry Pi, and copy the code from tts.py to the end of main.py, so they run in one execution. Now, you should have working text-to-audio glasses, but you must replace the test image in main.py with <imagename>.jpg.
As Nagori explained, “this will be used later when setting up the sound to the raspberry pi.”
Step 2: Text to audio glasses hardware
Our young programmer then uploaded the files needed to print on a 3D printer, alongside using the software for your printer to slice the uploaded .stl file.

One of the glasses’ images for the 3D printer. Source: Akhil Nagori / Instructables
Conclusion
Today’s world is more visually-impaired-friendly than before, but there is still plenty of text that isn’t translated in a form understandable to the afflicted (in braille, audio, etc.). With his project, Nagori wanted to address this problem and provide visually impaired people with access to more written text.
As he pointed out:
“We successfully developed a prototype system that uses a Raspberry Pi, a camera module, and a push-button interface to capture images, extract text using Optical Character Recognition (OCR), and read the text aloud using text-to-speech (TTS) technology.”
On top of that, he “implemented OCR using the OCR.space API and integrated espeakng for speech output,” and optimized the system to “function effectively in various lighting conditions and text formats, ensuring accessibility and ease of use.”

Nagori’s project outline. Source: Akhil Nagori / Instructables
This way, Nagori said he had demonstrated the “feasibility of a low-cost assistive device that enhances independence and daily interactions with printed text.” And it’s true – artificial intelligence (AI) glasses might be all the rage now, but solutions such as this one have the chance to help those who can’t use them yet.
Watch the demo of Nagori’s project at work:
How do you rate this article?
Subscribe to our YouTube channel for crypto market insights and educational videos.


Join our Socials
Briefly, clearly and without noise – get the most important crypto news and market insights first.
Most Read Today
1
Samsung crushes Apple with over 700 million more smartphones shipped in a decade
2Peter Schiff Warns of a U.S. Dollar Collapse Far Worse Than 2008
3Dubai Insurance Launches Crypto Wallet for Premium Payments & Claims
4XRP Whales Buy The Dip While Price Goes Nowhere
5Luxury Meets Hash Power: This $40K Watch Actually Mines Bitcoin
Latest


8
Also read
Similar stories you might like.

Artificial Intelligence
Musk Predicts The Year Robots Will Replace Our Jobs
Ana | 2025-12-01
Business &Amp; Technology
Sweat-Powered Tech Turns Any Cup Into a Health Sensor
Ana | 2025-11-14

Business &Amp; Technology
Lawsuit says Roblox became ‘a school shooter’s playground’ under a16z
Ana | 2025-10-29

Business &Amp; Technology
How China became the ‘world’s factory’: The hidden history
Shedrach | 2025-10-13

Artificial Intelligence
Tesla deploys first-ever Unsupervised FSD in Europe – but there’s a catch
Ana | 2025-09-05

Artificial Intelligence
40% of Coinbase code now written by AI, CEO reveals
Ana | 2025-09-04

Business &Amp; Technology
Samsung TV meltdown: Streaming apps suddenly unusable
Ana | 2025-08-01

Business &Amp; Technology
Apple billboard sparks controversy with phallic design
Ana | 2025-07-31
Artificial Intelligence
‘AI veganism’ soars as people reject AI like meat; Here’s why
Ana | 2025-07-30
Smartphones &Amp; Iot
Galaxy Z Fold 7 faces brutal durability tests: Here’s what happened
Ana | 2025-07-28